Getting started with Taubyte begins with creating a project. In this guide, we’ll walk through the process using the web console—a method that works identically whether you’re testing locally with Dream or setting up for production.
Accessing the Console
Open your browser and navigate to console.taubyte.com.
You’ll be greeted with a login screen where you need to:
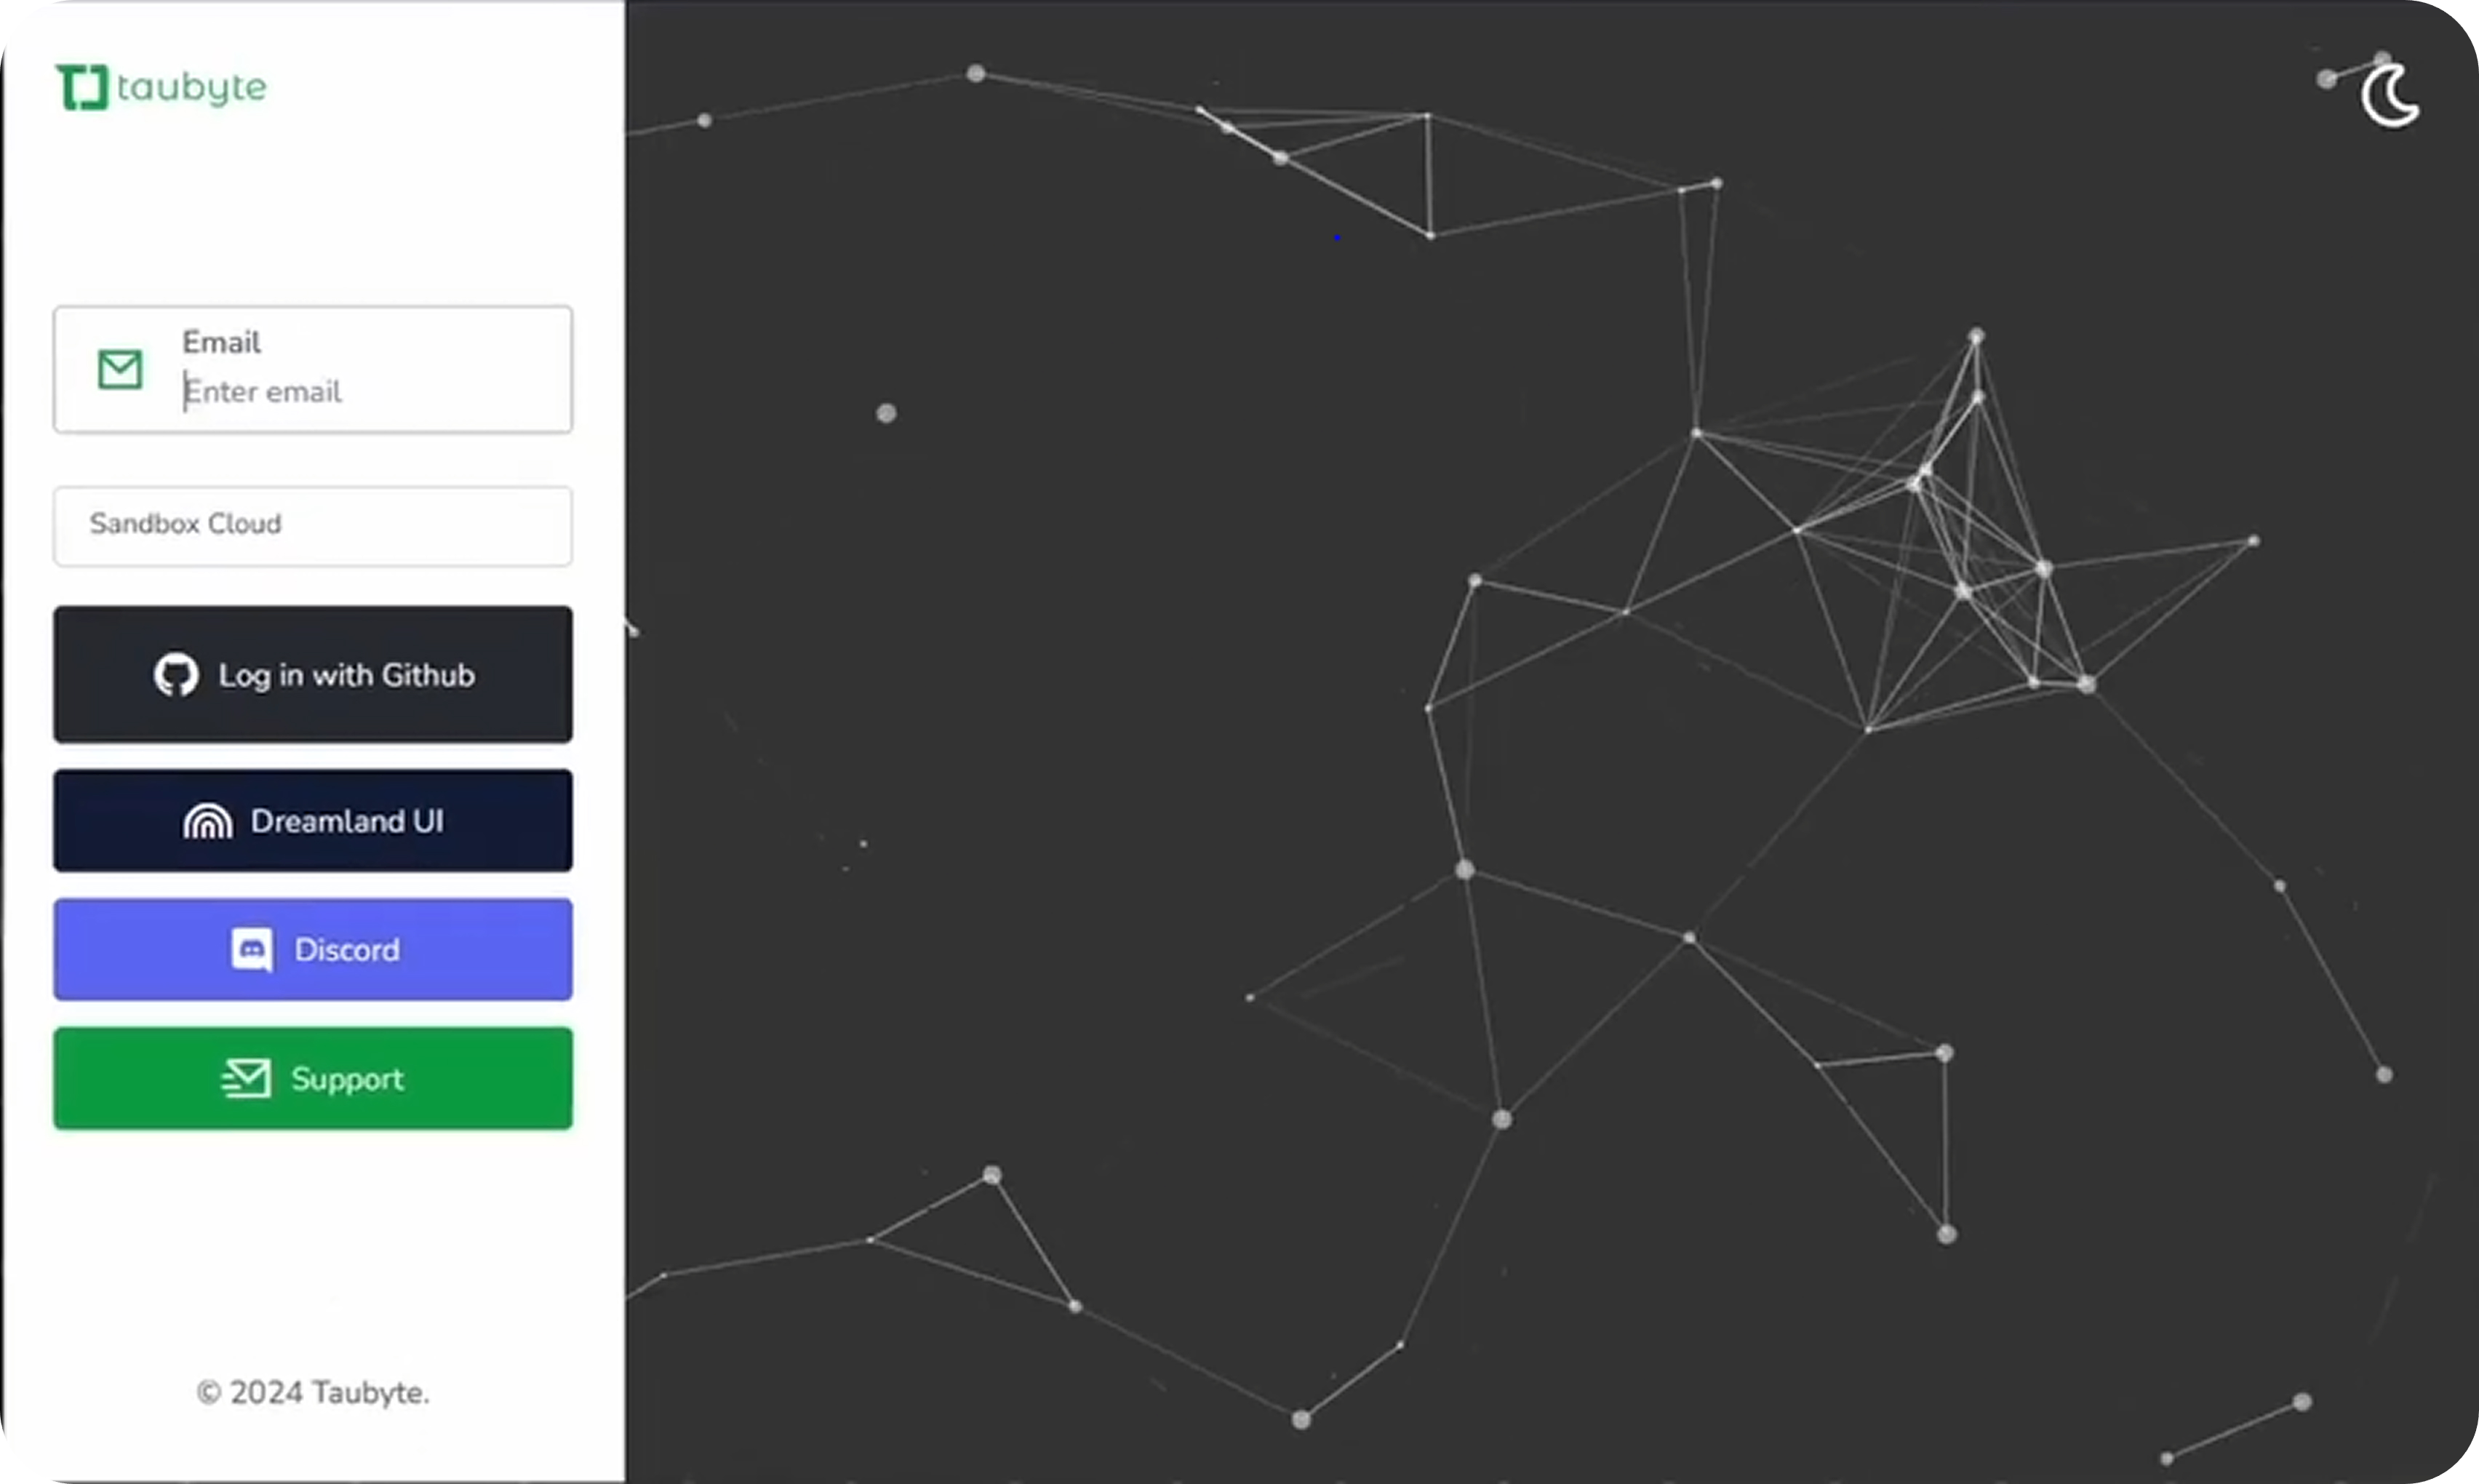
- Enter your email address
- Choose your network:
- Select Dreamland/blackhole for local development
- Enter your custom domain for production deployments
- Click “Login with GitHub”

The console will request permission to access your GitHub account. This is necessary so it can:
- Create repositories for your project
- Push configuration and code changes
- Trigger CI/CD builds
Important: Your GitHub token is stored only in your browser—it never leaves your machine.
Creating a Project
Once logged in, you’ll see the projects dashboard. To create a new project:
Click the Create Project button
Fill out the short form:
- Project Name: A unique identifier for your project
- Description: Brief explanation of what you’re building
- Visibility: Choose between private or public repositories
Click Create Project
That’s all there is to the setup!
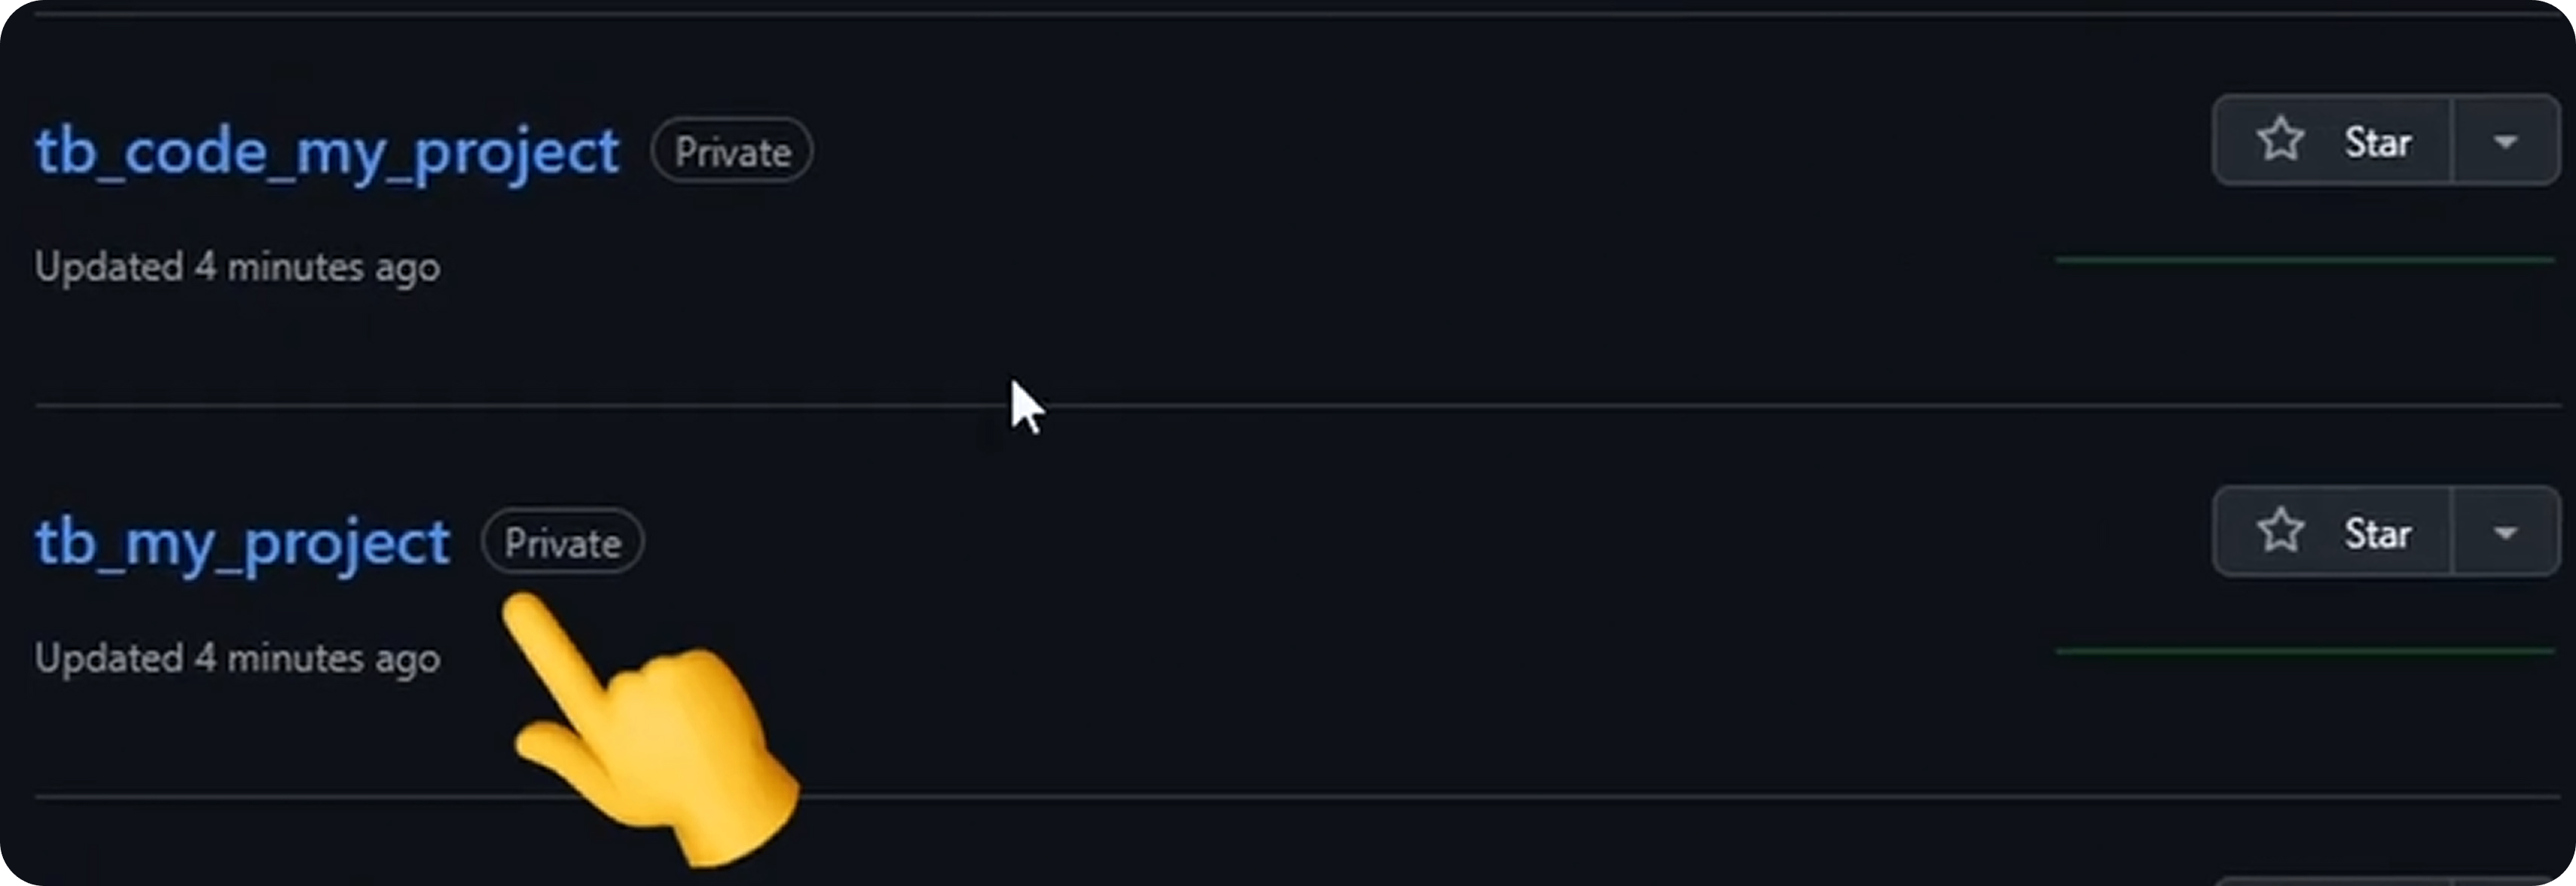
What Gets Created
When you create a project, Taubyte automatically creates two GitHub repositories:
| Repository | Purpose | Contents |
|---|---|---|
| Config Repo | Project settings | YAML files for functions, databases, domains, etc. |
| Code Repo | Inline code | Source code in your chosen language (Go, Rust, AssemblyScript) |
This separation allows you to:
- Manage configuration separately from code
- Have clear version history for infrastructure changes
- Use Git workflows you’re already familiar with
Repository Structure
Config Repository:
your-project-config/
├── domains/
│   └── generated-domain.yaml
├── functions/
│   └── my-function.yaml
└── databases/
    └── my-database.yaml
Code Repository:
your-project-code/
├── functions/
│   └── my-function/
│       └── .taubyte/
│           ├── config.yaml
│           └── build.sh
└── websites/
    └── my-website/
        └── index.html
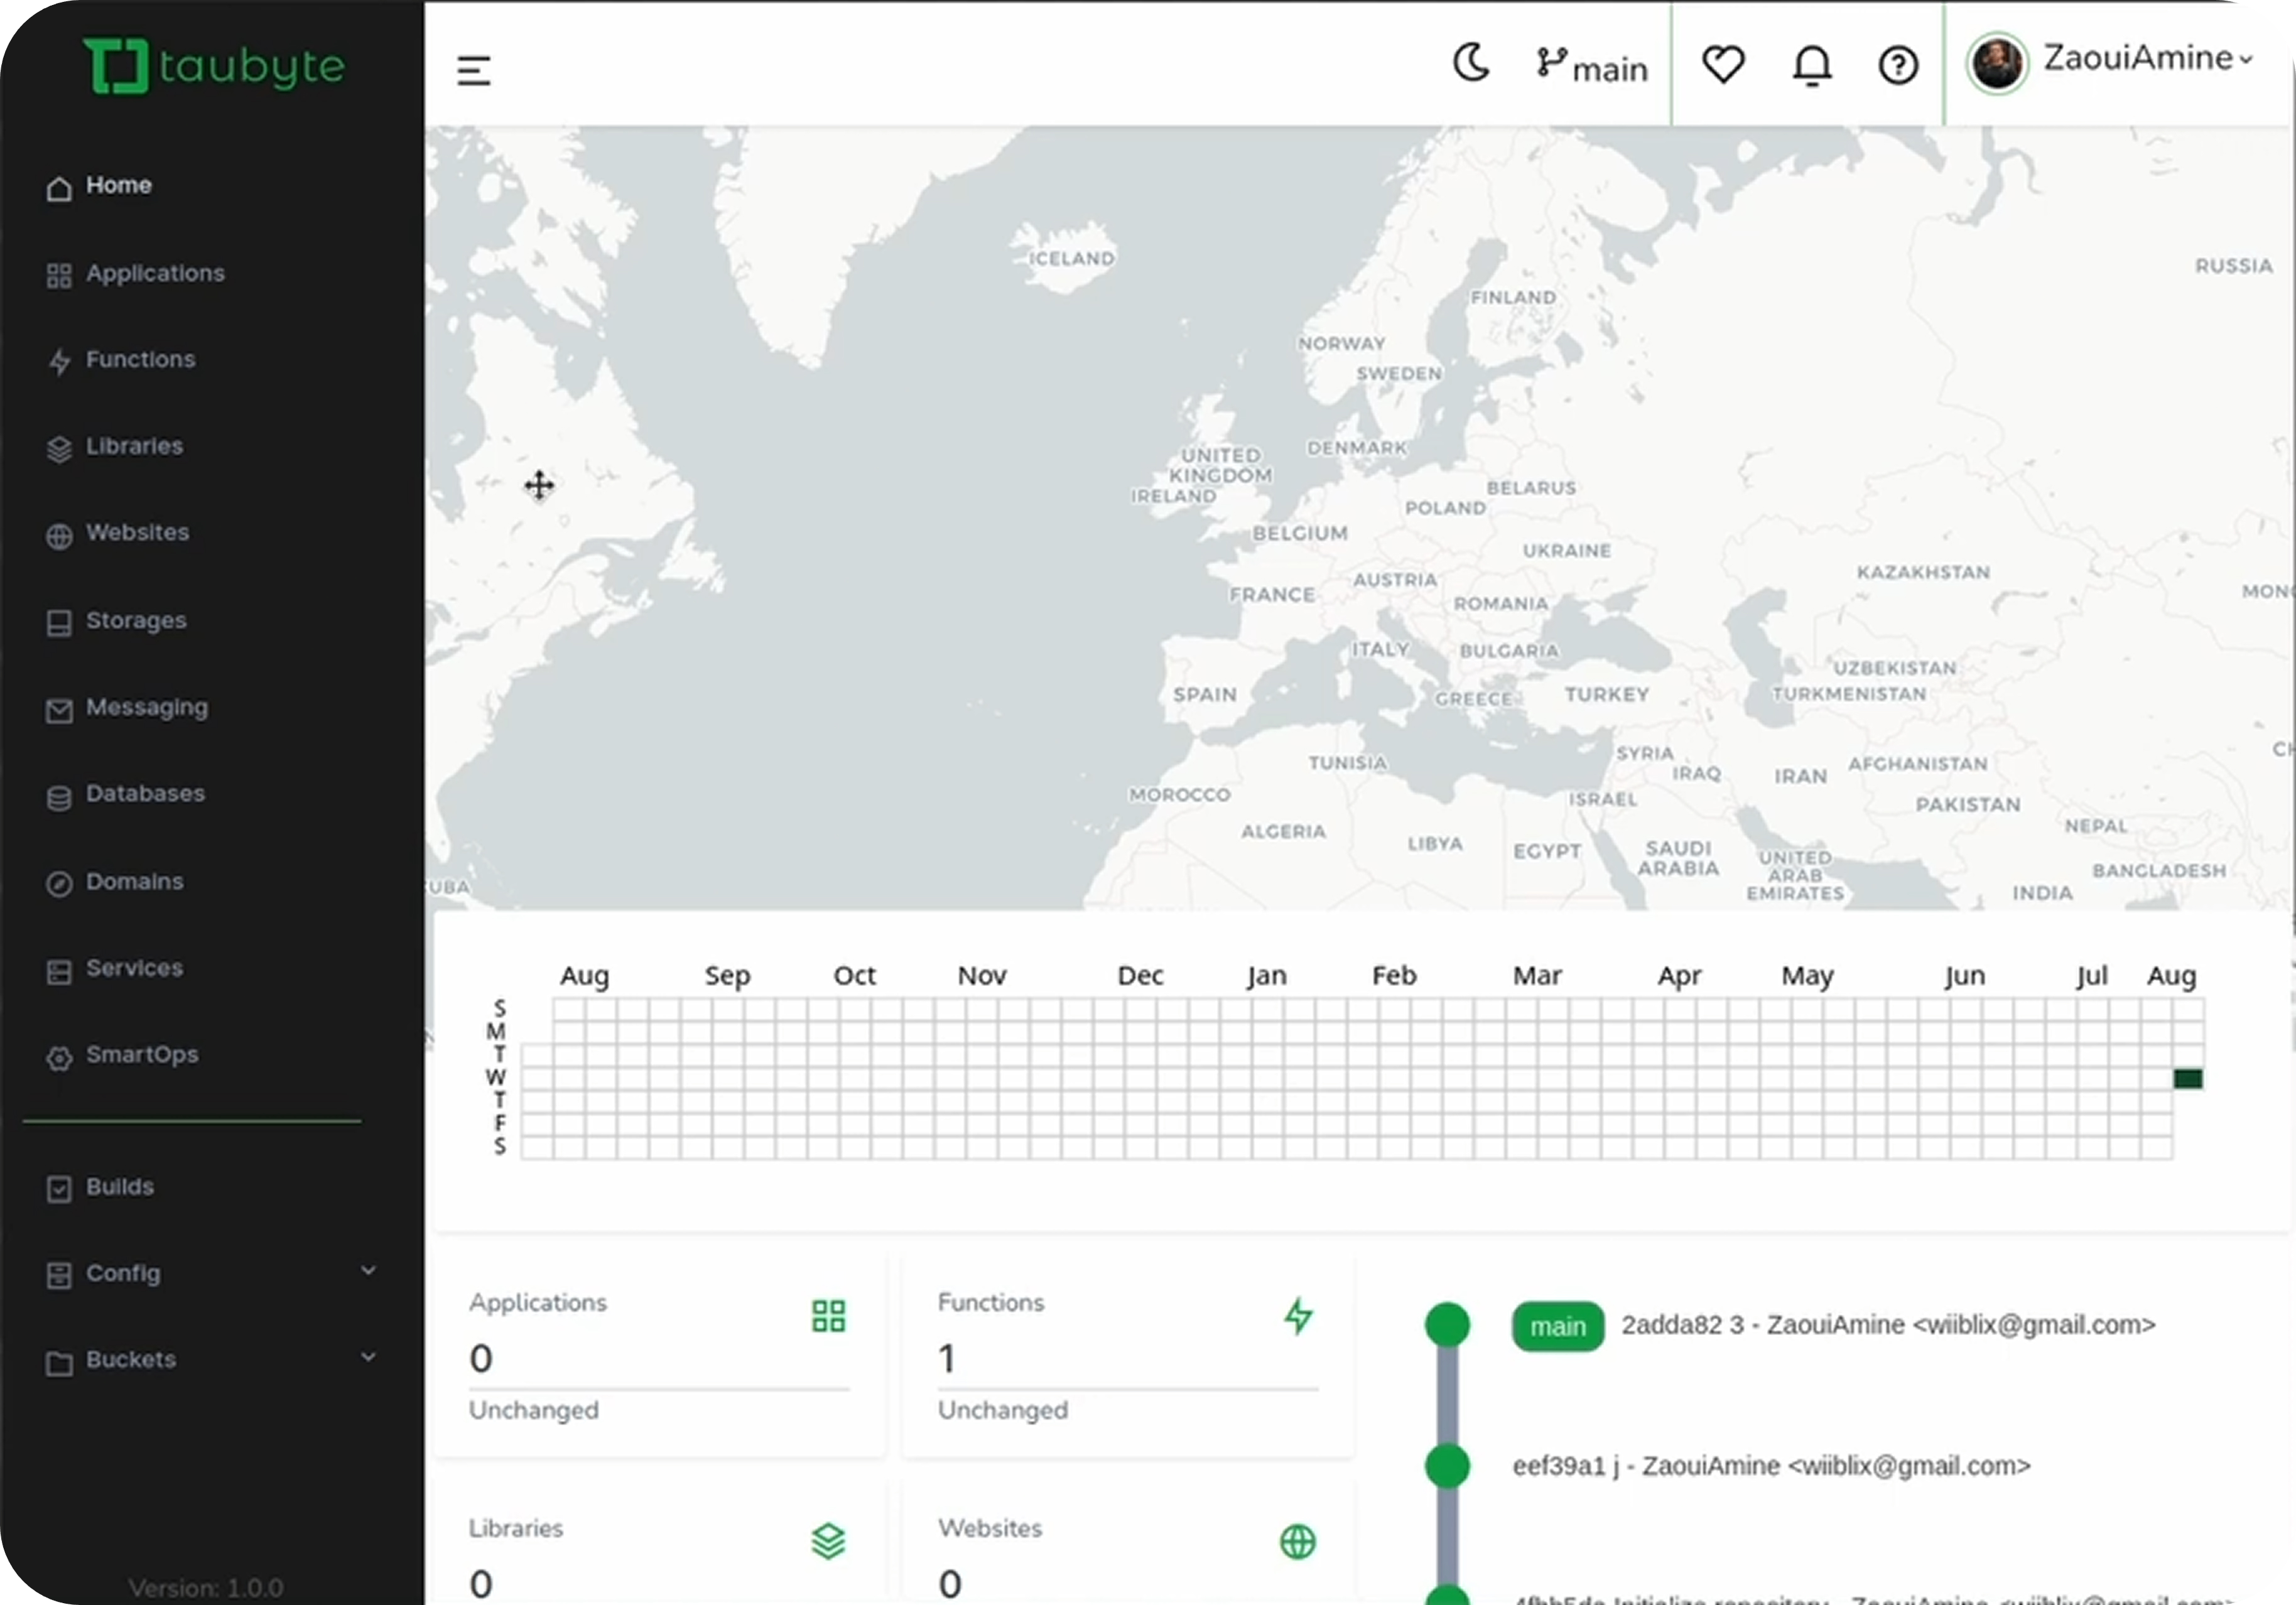
After Creation
Once your project is created, you’ll be taken directly to your new project’s dashboard. From here, you can:
- Create functions for serverless computing
- Set up databases for structured data storage
- Deploy websites for static hosting
- Configure storage for object storage
- Set up messaging for pub/sub patterns
Development vs. Production
The beauty of Taubyte’s approach is that the steps are identical regardless of your environment:
| Action | Dream (Local) | Production |
|---|---|---|
| Create project | ✅ Same process | ✅ Same process |
| Add functions | ✅ Same process | ✅ Same process |
| Configure databases | ✅ Same process | ✅ Same process |
| Push changes | dream inject push-all | Automatic via GitHub webhooks |
The only difference is how builds are triggered:
- In Dream: You manually trigger with
dream inject push-all - In Production: GitHub webhooks automatically trigger builds
Next Steps
With your project created, you’re ready to:
- Create Functions - Deploy serverless code
- Set Up Libraries - Share code across functions
- Deploy Websites - Host static sites
Conclusion
Creating a Taubyte project is straightforward—fill out a simple form and let the platform handle repository creation and configuration. The Git-based approach means you always have a clear audit trail and can use familiar development workflows.
The fact that local and production processes are identical ensures that what works in development will work in production, eliminating deployment surprises.
For detailed documentation on all project features, visit tau.how.
Next: Build your first serverless function to start deploying code.