In this tutorial, we’ll go step by step through building a fully functional online marketplace using Taubyte. The focus is on a smooth “vibe coding” experience - local development first, then pushing to production.
Step 1: Setting Up Locally and Creating a Universe
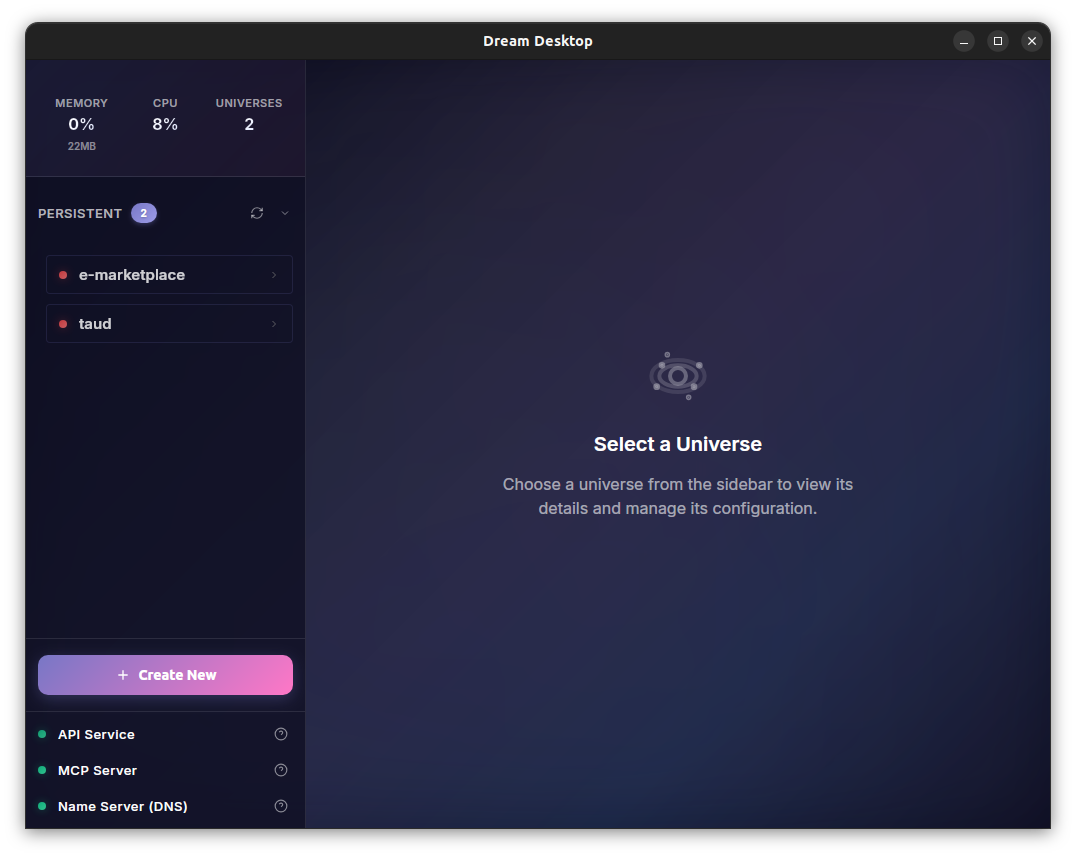
We start by creating a local environment using the Dream Desktop program.
- Open Dream Desktop and create a Universe.
 2. Connect to it via the console at console.taubyte.com.
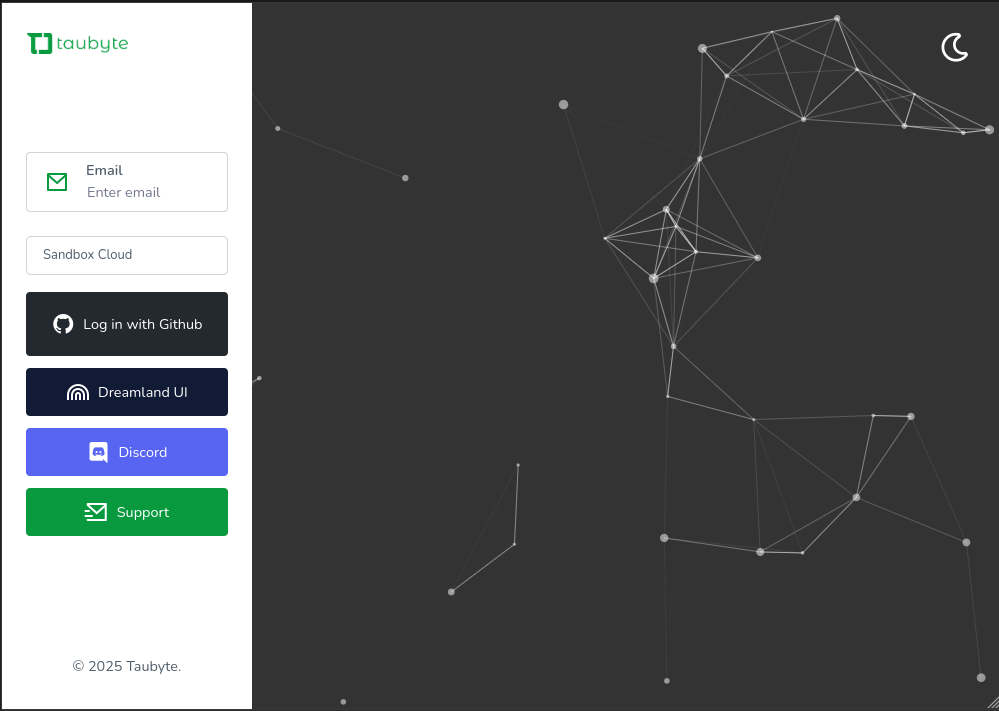
- Choose the universe, enter your email, and connect with GitHub.

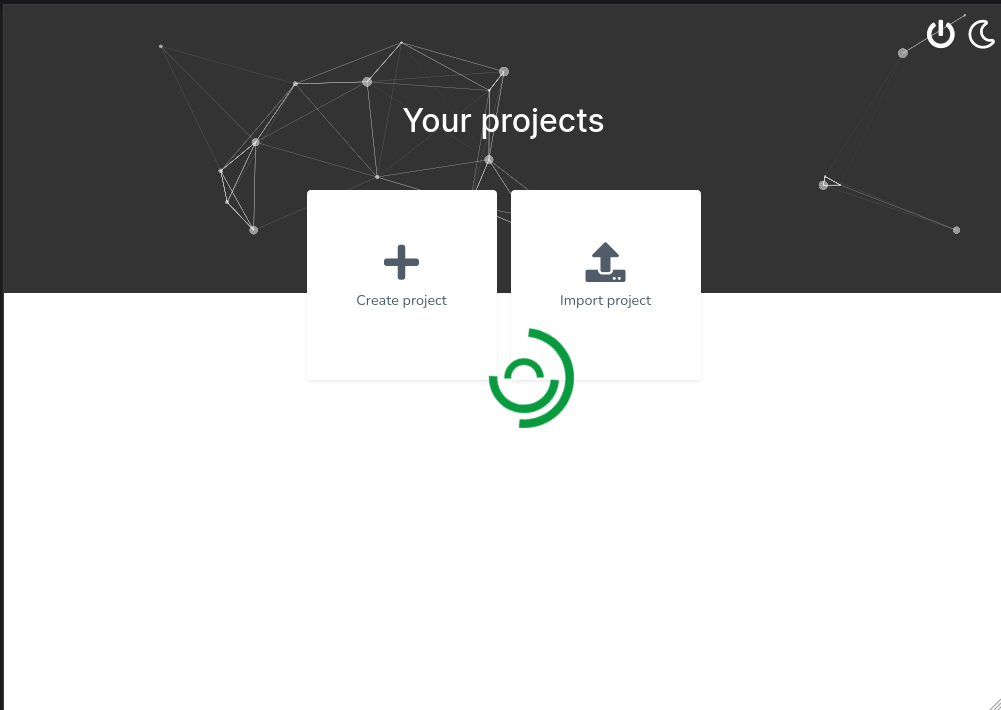
- Create a project in the console.
Step 2: Understanding Frontend and Backend
Our marketplace has two main parts: frontend and backend.
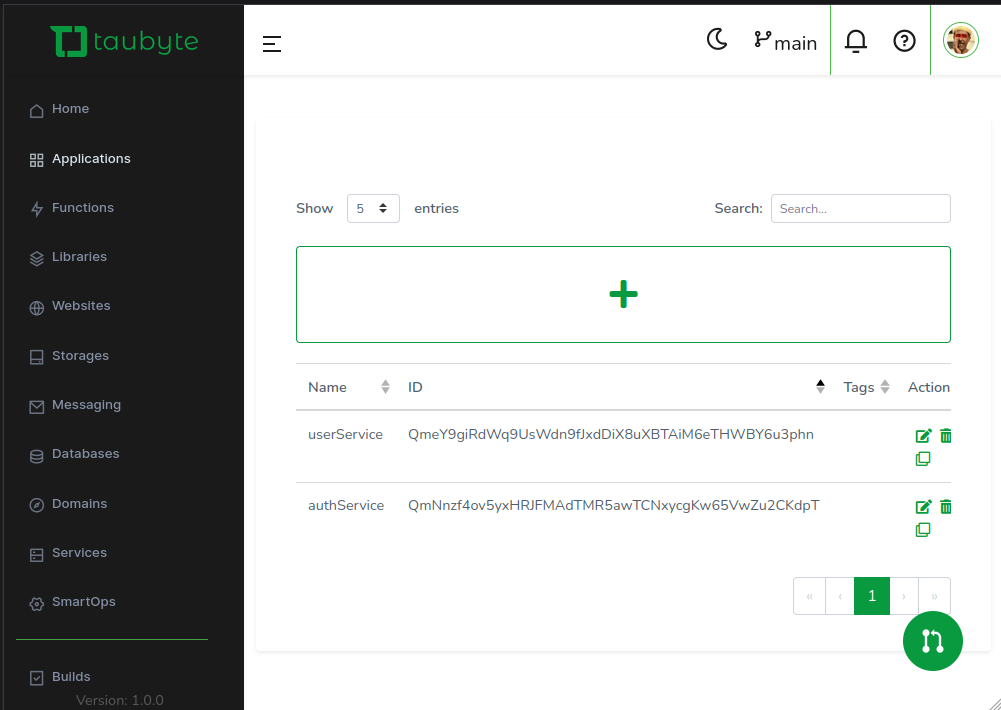
We’ll start with the backend. The backend is made of multiple services, each responsible for a single function. Our first service is Auth Service.
Create an application for the Auth Service.
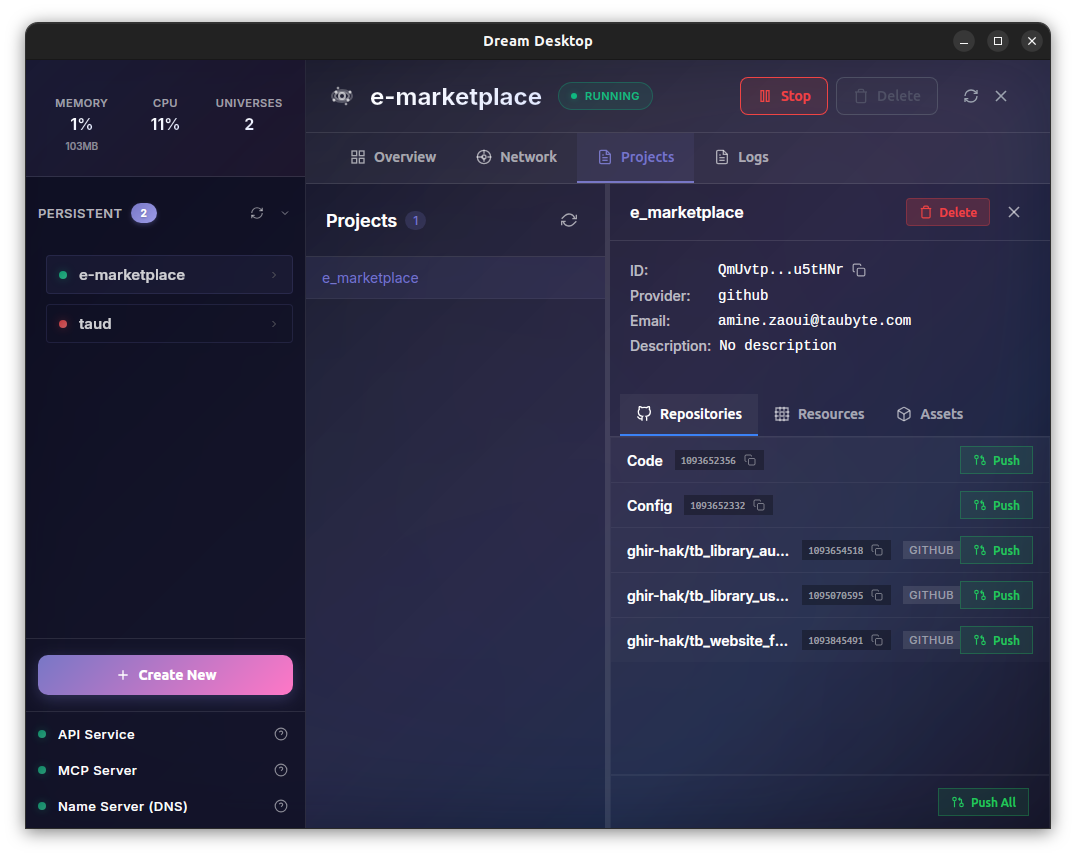
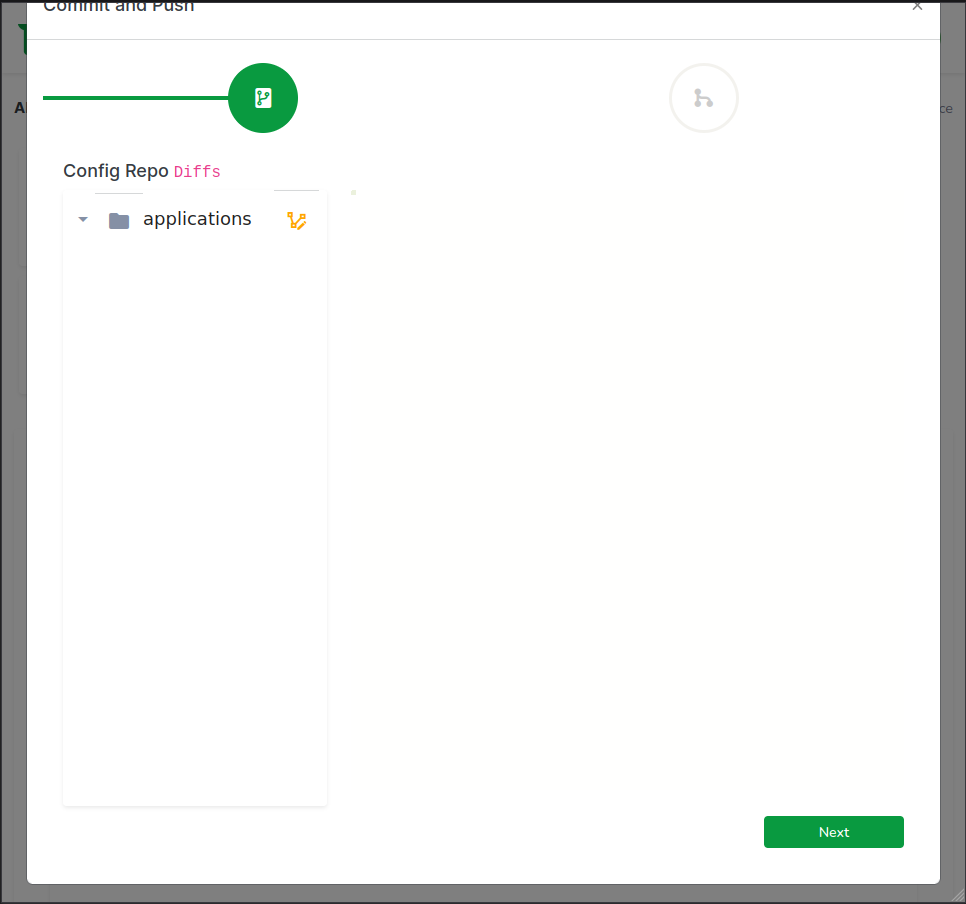
Step 3: Pushing from Dream Desktop
Once the application is ready:
- Push all changes from Dream Desktop.
- Normally, builds are triggered automatically via a webhook from GitHub.
- Locally, simulate this webhook with a push button on Dream Desktop.
- This creates a local test cloud instead of deploying to a production node.
Step 4: Creating Serverless Functions
We won’t use inline code for serverless functions - it’s messy to maintain. Instead:
- Use Taubyte libraries (distinct Git repos) as the code source.
- Each serverless function takes its code from the library.
Steps:
- Push the config from the console.
- Push again from Dream Desktop.
- Clone the backend library from GitHub.
Step 5: Auth Service API
We’ll use agents.doc as documentation. Prompt your AI to generate code:
"Create a fully functioning simple Auth CRUD API using JWT.
Use different files for organization.
Use only simple and necessary code.
Use agents.doc as docs for Taubyte."
The AI generates:
- Handlers & exported logic → serverless functions.
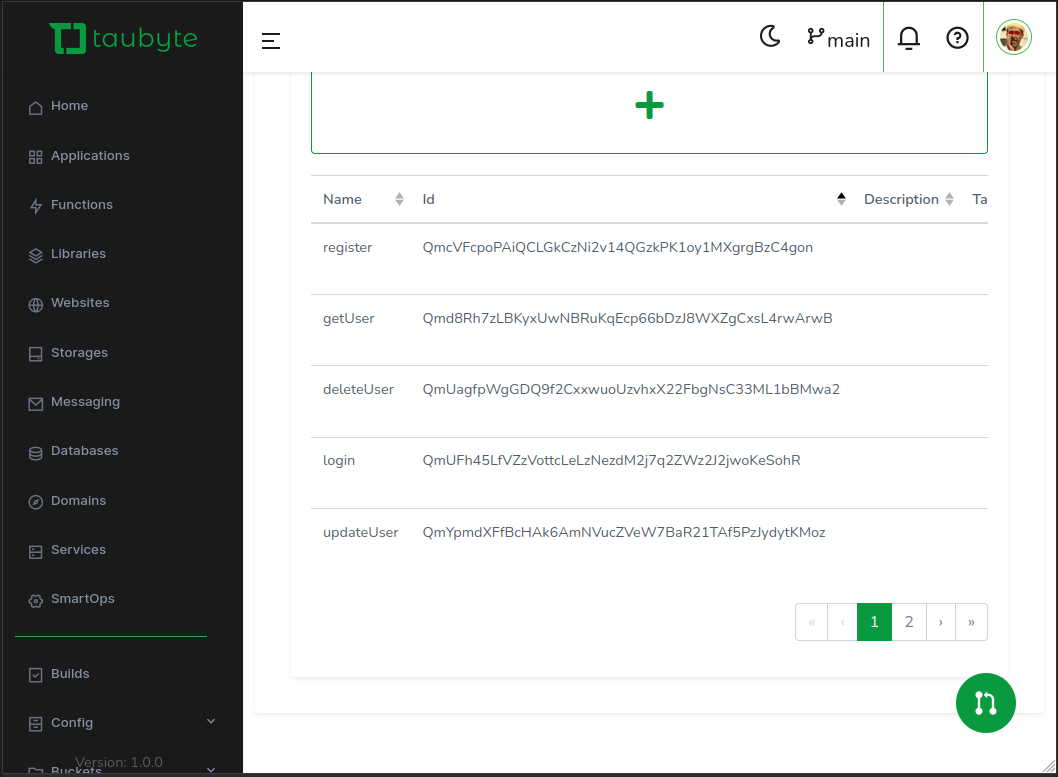
Serverless function endpoints:
| Function | Path |
|---|---|
| login | /api/auth/login |
| register | /api/auth/register |
| updateUser | /api/auth/updateuser |
| deleteUser | /api/auth/deleteuser |
| getUser | /api/auth/getuser |
Step 6: Push and Configure Serverless Functions
Push to GitHub, then create serverless functions in the console:
- Set timeout and path.
- Pick the domain.
- Source code = backend library.
- Entry point = exported function from Go library.
- Push console config, then push build from Dream Desktop.
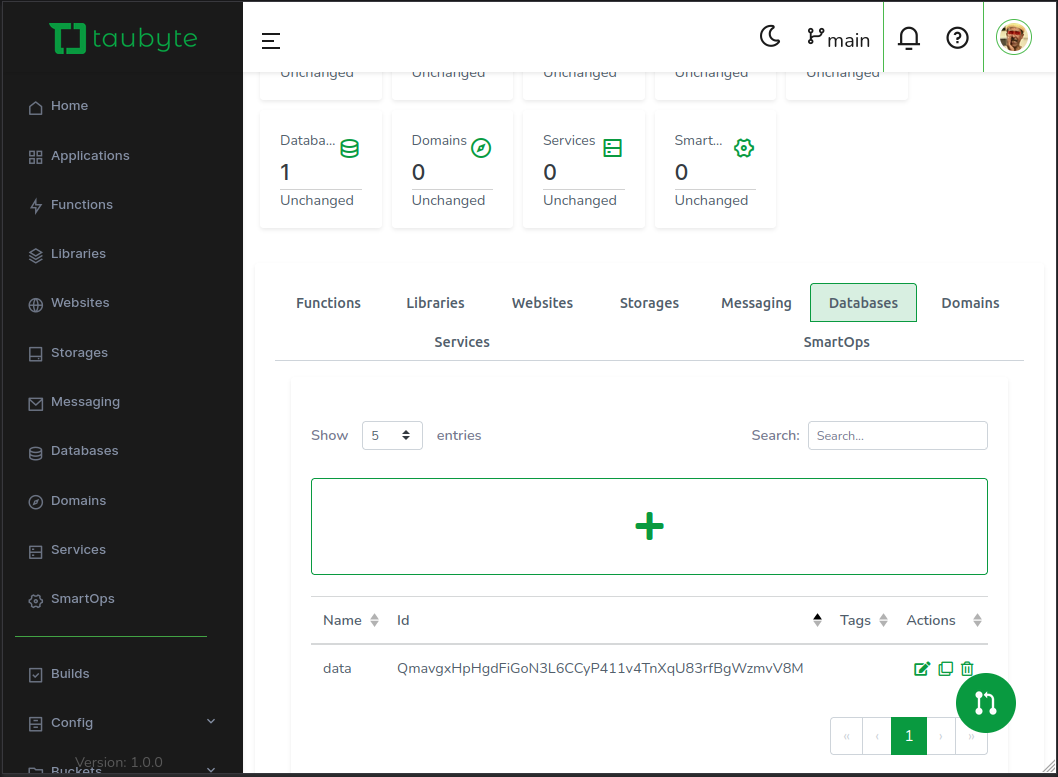
Step 7: Database Setup
- Create a database from the console called
data. - Push again from the console after creation.
Step 8: Testing Endpoints with Curl (Using JWT)
Use the following curl commands to test your Auth Service:
Register User
curl -X POST <BASE_URL>/api/auth/register \
-H "Content-Type: application/json" \
-d '{"username":"testuser","email":"test@example.com","password":"password"}'
Login User (Get JWT Token)
curl -X POST <BASE_URL>/api/auth/login \
-H "Content-Type: application/json" \
-d '{"email":"test@example.com","password":"password"}'
The response will return a JSON containing the
token. Use this token for the next requests.
Get User
curl -X GET <BASE_URL>/api/auth/getuser \
-H "Content-Type: application/json" \
-H "Authorization: Bearer <JWT_TOKEN>" \
-d '{"id":"<USER_ID>"}'
Update User
curl -X PUT <BASE_URL>/api/auth/updateuser \
-H "Content-Type: application/json" \
-H "Authorization: Bearer <JWT_TOKEN>" \
-d '{"id":"<USER_ID>", "username":"updatedName"}'
Delete User
curl -X DELETE <BASE_URL>/api/auth/deleteuser \
-H "Content-Type: application/json" \
-H "Authorization: Bearer <JWT_TOKEN>" \
-d '{"id":"<USER_ID>"}'
Backend library example: tb_library_auth_service
Step 9: Frontend Setup
- Create a global website empty repo.
Push to GitHub, then open it in Dream Desktop.
Use Vite + VueJS + Tailwind to create a frontend project.
- Keep the
.taubytefolder created by Taubyte (essential for build).
- Keep the
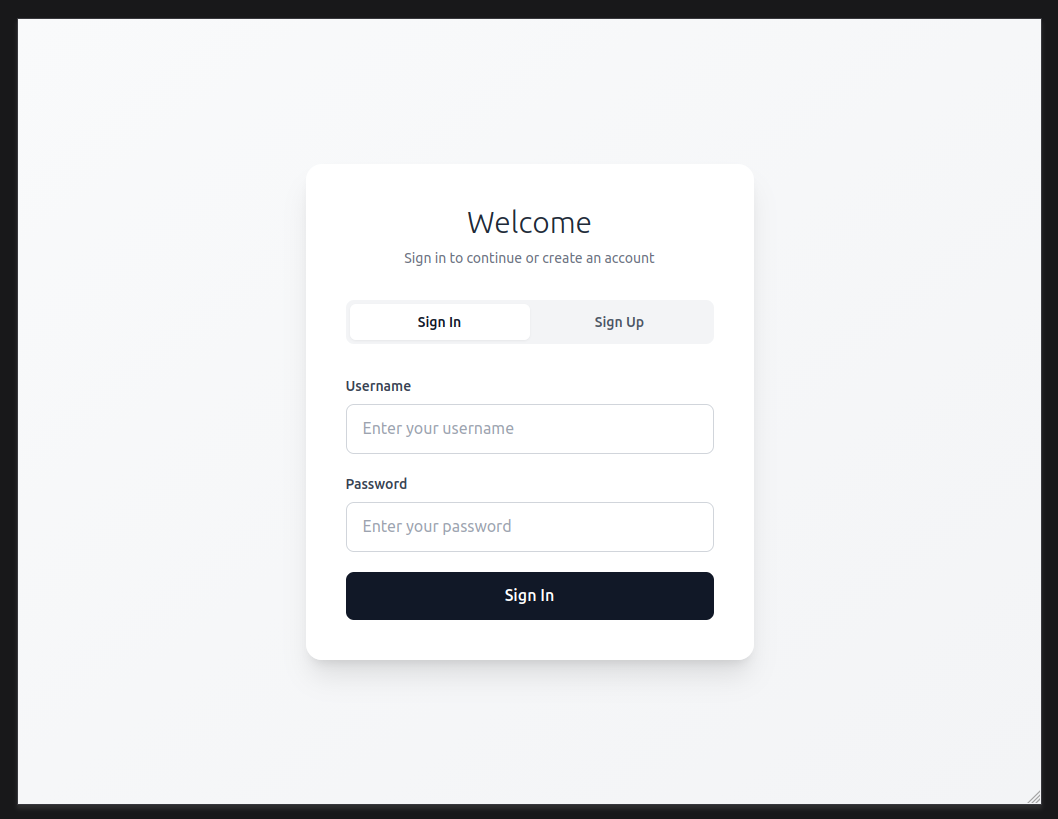
Prompt AI:
"Use TailwindCSS to create a minimalist elegant Auth page.
Use the .env file for the base URL.
Use window.location.origin for API calls."
- Include the curl commands above for reference.
- Test locally, make tweaks, then push to GitHub to trigger a build via Dream Desktop.
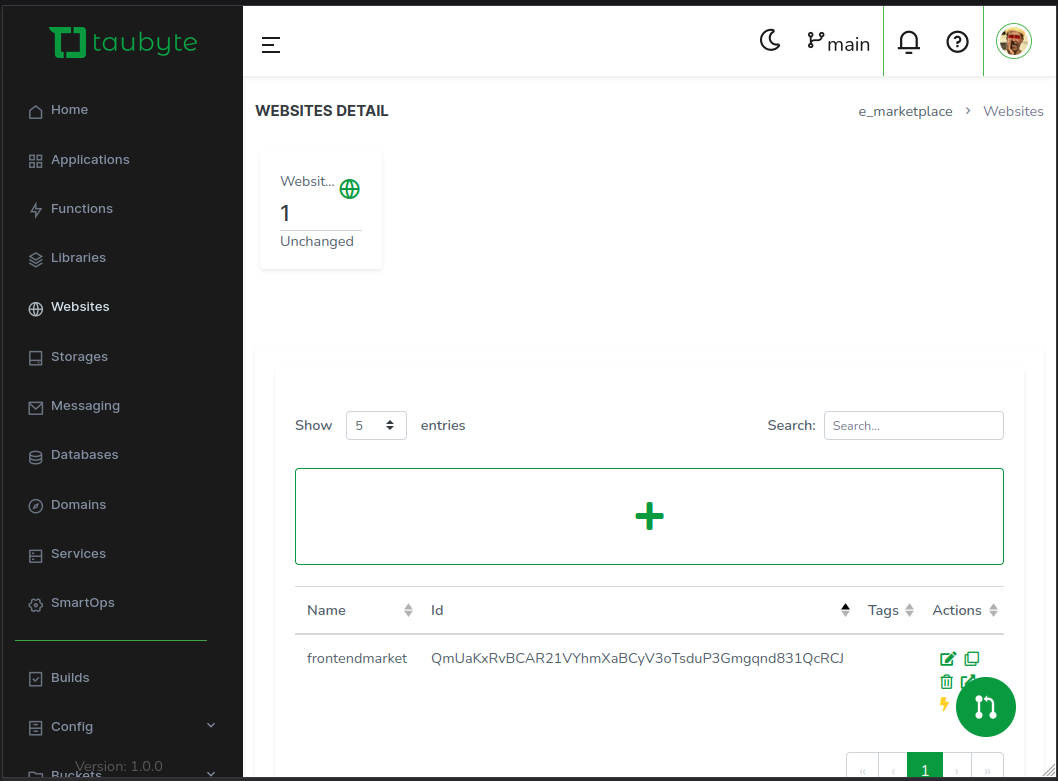
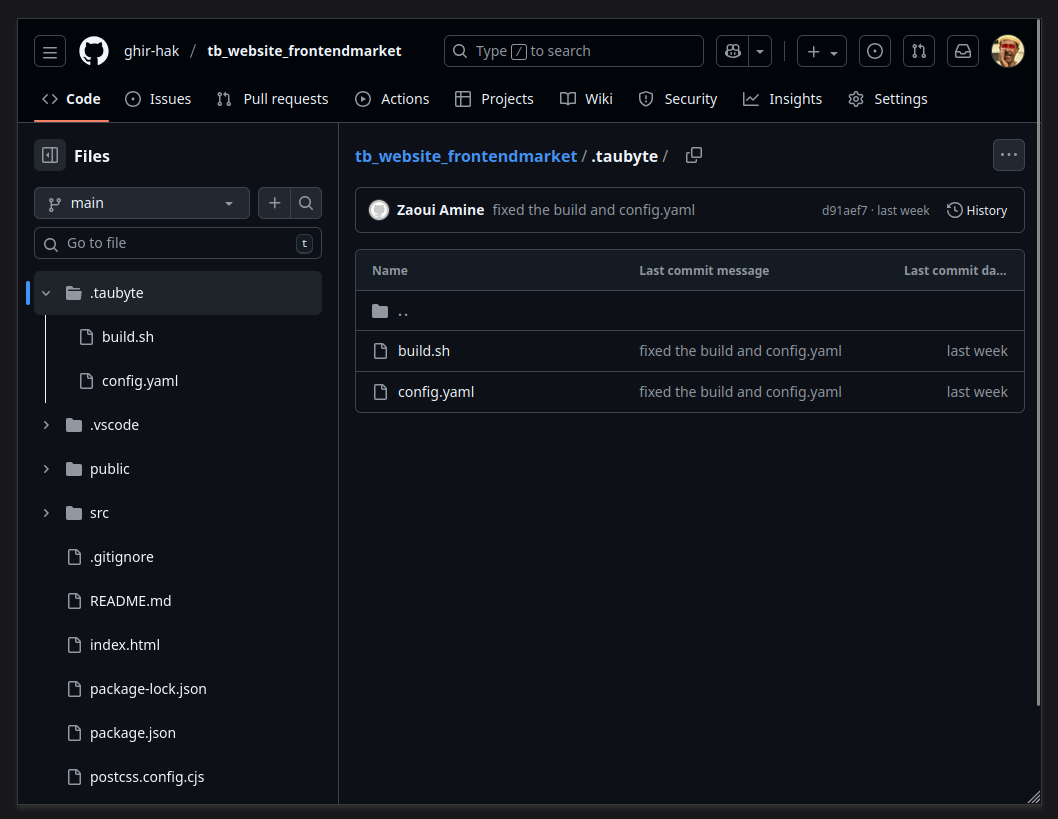
Step 10: Final Config Tweaks
- Add
build.shandconfig.yamlin.taubytefolder for Vite projects.
- Update serverless function domains if needed.
- Push console config and trigger build.
- Visit your website via the lightning button in the console.
Important: Ensure the library domain and website domain match. Otherwise, window.location.origin won’t work correctly.
Conclusion
Following these steps, you now have a fully functioning online marketplace built on Taubyte, complete with backend services, JWT-secured serverless functions, a database, and a minimal VueJS + Tailwind frontend.
This approach keeps everything modular, maintainable, and ready for production while allowing you to vibe code locally.